
How to Send a Mailchimp Campaign with WordPress
Most online presences run on email marketing and website publishing. Mailchimp is one of the most dominant email marketing platforms around. It’s the go-to solution for many marketers, organizations, and individuals looking to leverage email as a promotional and outreach tool. For publishing on the web, WordPress is by far the most popular content management system. Today we’ll show you how you can combine the power of Mailchimp and WordPress with our ChimpBridge plugin. With ChimpBridge, you can send a Mailchimp campaign with WordPress in the same way you write and publish a blog post. It couldn’t be easier.
As time goes by, and social media advertising and other new ways to market come and go, an email will always remain one of the best ways to reach an audience. Unfortunately, the complexity of writing and sending a simple email newsletter has increased. Even tools like Mailchimp, which are specifically designed to cater to a wide pool of users, haven’t escaped this added complexity. The goal of ChimpBridge, our WordPress plugin for Mailchimp, is to make using the core act of writing a newsletter a built-in part of the familiar WordPress experience.
So let’s get started. Here’s the easiest way to send a Mailchimp campaign. And all you need to do is install our plugin and start writing.
Add ChimpBridge to Your WordPress Site
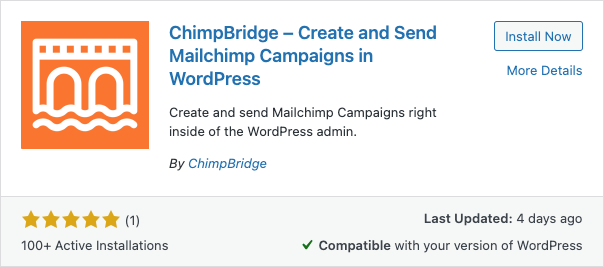
You’ll need to install ChimpBridge in order to create and send a Mailchimp campaign with WordPress. The easiest way to handle this is to log in to your WordPress admin. Once you have done that, head over to the Plugins menu and find the Add New option. Type “ChimpBridge” in the keyword search and in a moment you’ll see our plugin show up on the screen. Click the Install Now button and WordPress will walk you through the steps of installing and activating the plugin.
You’re almost ready to go. The next step is probably the most important. You are going to need to tell ChimpBridge how to communicate with your Mailchimp account. This is done by finding your Mailchimp API key and saving it in the ChimpBridge settings.
Find and Save Your Mailchimp API Key
Log in to your Mailchimp account and head over to the API Keys section. If you don’t have any API keys yet you will need to create one here. When that is done all you need to do here is copy the key. If you need more help with this step or get lost on the Mailchimp site, there is a handy tutorial about API Keys in the company’s help documentation.
Now, with your Mailchimp API Key copied, head back to WordPress. Go to ChimpBridge in the menu and find the Settings option. This screen simply asks you to paste your Mailchimp API key and save it. If successful, ChimpBridge will let you know it can now communicate with your Mailchimp account.
Integration with MC4WP
There’s a good chance you are familiar with the MC4WP plugin if you’re reading this post. Mailchimp for WordPress is the most popular and widely praised Mailchimp signup form plugin on the market. It’s so popular, in fact, that ChimpBridge has a special integration. ChimpBridge knows to look for your Mailchimp API Key in the MC4WP settings. If it finds something, it is automatically added to the ChimpBridge settings as well. You don’t have to do anything and our plugin will immediately know how to connect to your Mailchimp account.
Still Stuck on API Keys?
Are you still having trouble? Feel free to contact us via our Support form and we’d be happy to help you get your Mailchimp API problems sorted out.
With this step done ChimpBridge is able to get your list of Audiences from your Mailchimp account, save campaigns, and even send those campaigns. All within the familiar WordPress interface.
Create and Send a Mailchimp Campaign
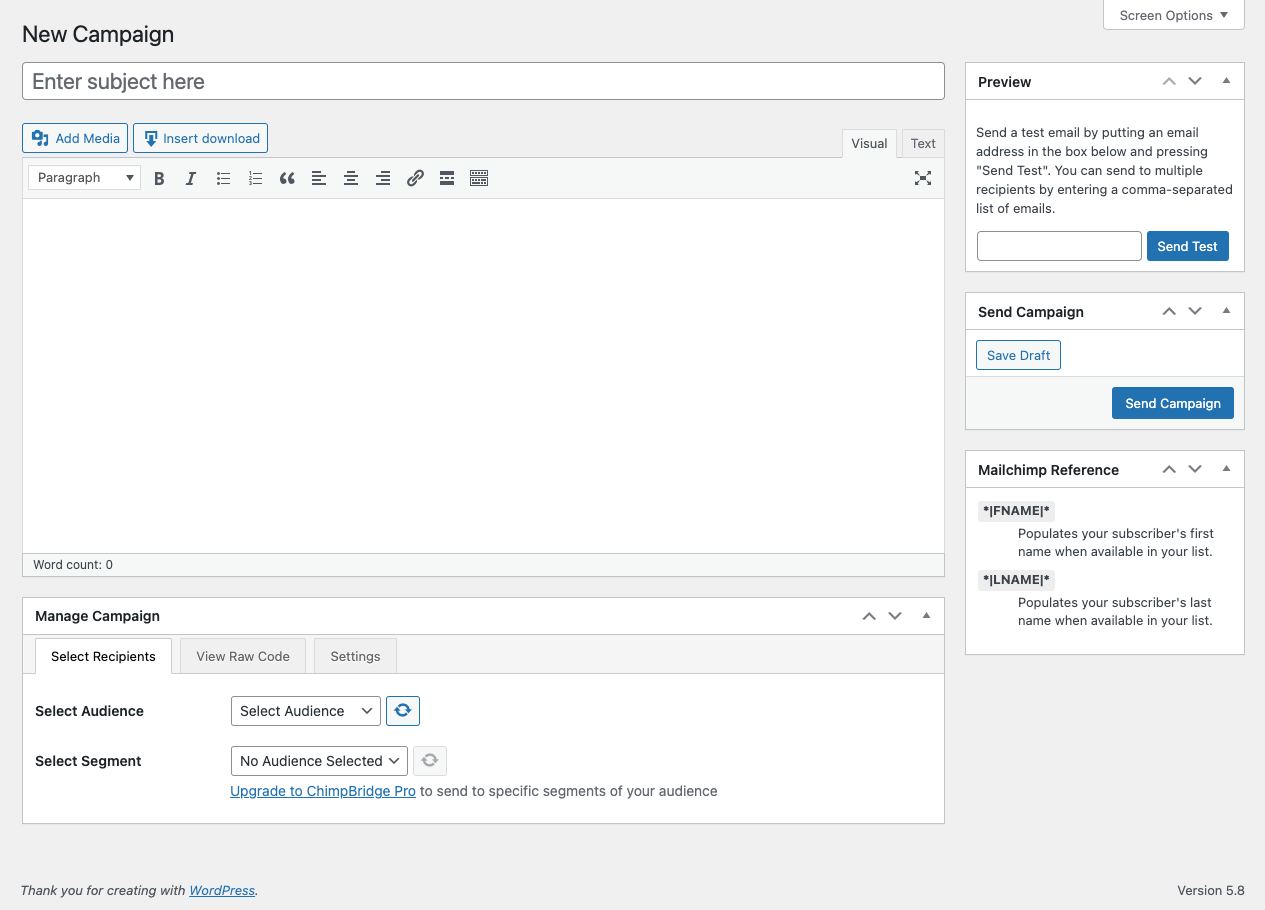
Now that all of the installation and setup is out of the way it’s time to work on a campaign. Find the New Campaign option under the ChimpBridge area of your WordPress admin menu.
You’ll be presented with an interface any WordPress user will immediately be familiar with. It’s very much like what you would use to write and publish a post or page on your site.
The Basics of ChimpBridge
The field you are probably used to using as the title of your blog posts is where you put the subject of your Mailchimp campaign. From there, the main text editor is for the body of your email. ChimpBridge uses the basic WYSIWYG text editor provided by WordPress, and not the new Block Editor, in order to give you better control. The WYSIWYG editor also helps us guarantee better compatibility with the various email clients that will be used to read your email after it is sent.
There are a few extra interface features we’ll walk you through next.
Mailchimp Reference
Mailchimp supports a few wildcard values for use in campaigns. For instance, you can insert *|FNAME|* anywhere in your subject or body. Mailchimp will automatically replace that text with the first name of the subscriber receiving the email. In ChimpBridge, simply place your cursor at the point of your campaign text you want the wildcard to appear. Then click the corresponding wildcard label in the Mailchimp Reference box.
Manage Campaign
The Manage Campaign section of the ChimpBridge plugin lets you pick the audience you want to send your email to. ChimpBridge Pro users also have the option to select a segment from the selected audience. You can view the raw code that will be sent to Mailchimp and, most importantly, you have the ability to change some of the campaign’s basic settings:
- From Name
- From Email
- To Name
- Footer (ChimpBridge Pro Only)
Preview Campaign
ChimpBridge comes with an easy way to preview what your Mailchimp campaign’s email will look like. Right inside the plugin interface, you can enter an email address to send a test email to. This is by far the easiest way around to write and preview Mailchimp campaign drafts. We strongly recommend every campaign you create with ChimpBridge is first previewed before you actually publish.
Send Campaign
Has your test email been received and looks ok? Finally, you are ready to send your Mailchimp campaign. Hit the Send Campaign button and ChimpBridge will send your campaign contents along to Mailchimp. Once Mailchimp receives the campaign information they take over from there and make sure your selected audience gets your email.
Not quite ready to send? Click the Save Draft button to save your campaign and come back to it later when you are ready. The campaign details will save inside of WordPress and Mailchimp as well.
Want to Learn More About ChimpBridge?
You can discover more about ChimpBridge and ChimpBridge Pro here at our website. There is more about ChimpBridge available at the plugin’s listing at WordPress.org as well.