How to Create a WordPress Newsletter Archive with ChimpBridge Pro
ChimpBridge Pro includes a feature to automatically generate a WordPress newsletter archive of your campaigns for visitors to read on your site. This is a great way to add your newsletter content to your site without double-posting content in the WordPress admin.
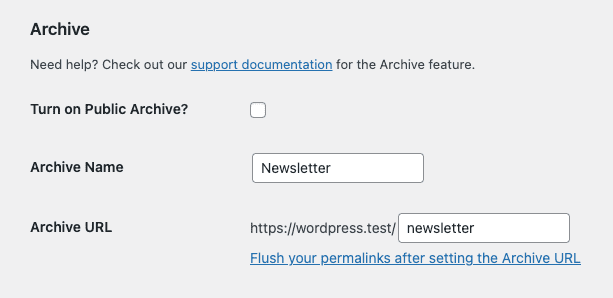
By default, this archive feature is disabled. You must turn it on and set some values to enable it on your website. You’ll want to head to ChimpBridge Pro’s Settings to get started. They can be found in the WordPress menu, under ChimpBridge. The Archive settings will look like this:
There are only three things to worry about here. Let’s go through them one by one. You’ll have a WordPress newsletter archive online in minutes.
Turn on Public Archive?
This checkbox will enable, or disable, your public newsletter archive. You can check, or uncheck, this box at any time to toggle your archive on or off.
Archive Name
This is the text that will appear at the top of your archive listing. By default, ChimpBridge Pro suggests the word “Newsletter” but you can change it to whatever you prefer.
Archive URL
The Archive URL is the website address visitors will go to find your archive. By default, ChimpBridge Pro suggests the URL “newsletter” but you can change it to whatever you prefer. ChimpBridge Pro will automatically format any text in the Archive URL box to be a valid URL. Please note it will not check to see if you have an existing page or post at that URL. It’s your responsibility to make sure you aren’t duplicating an existing URL on your site.
Permalinks
We need to stop here and discuss permalinks for a minute. WordPress uses a system called permalinks to define the URLs of your posts and pages. This is no different for our newsletter archive. Unfortunately, because of how WordPress works, you need to reset your permalinks manually whenever you save your ChimpBridge Pro archive settings.
This isn’t as complicated as it seems. After you are happy with your settings, press the Save Changes button on the ChimpBridge settings screen. Then click on the “Flush your permalinks after setting the Archive URL” link under the Archive URL field.
This will open the Permalink Settings screen. All you have to do now is scroll to the bottom and click the Save Changes button. You do not have to modify anything on this screen. Simply clicking the button will flush the WordPress permalinks. You can then visit your website at the Archive URL you defined and see your newsletter posts.
Here’s an example of what it looks like using the Twenty Twenty-Three theme that comes with WordPress:
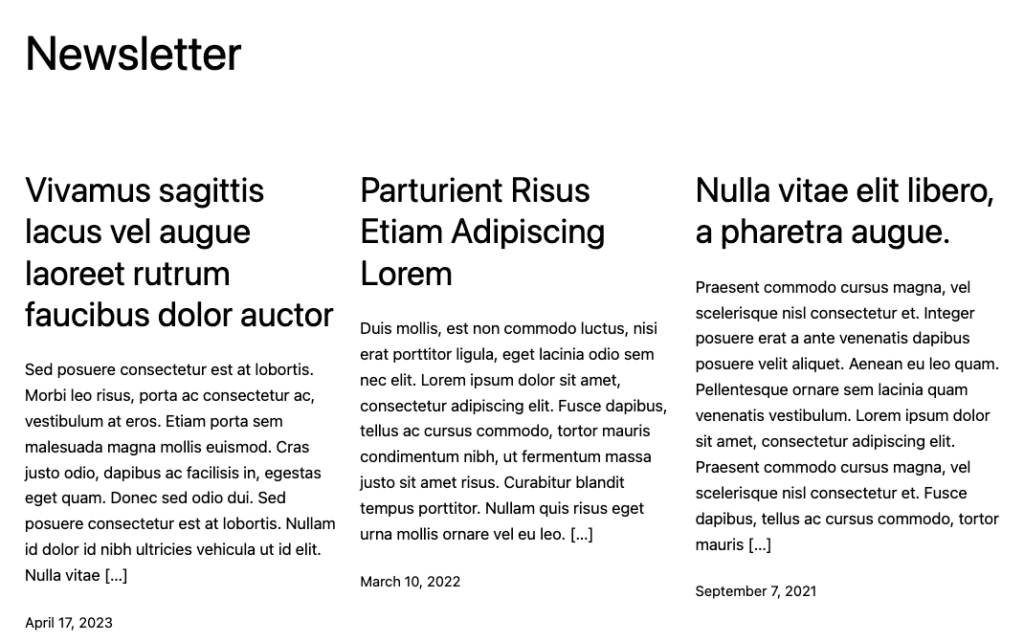
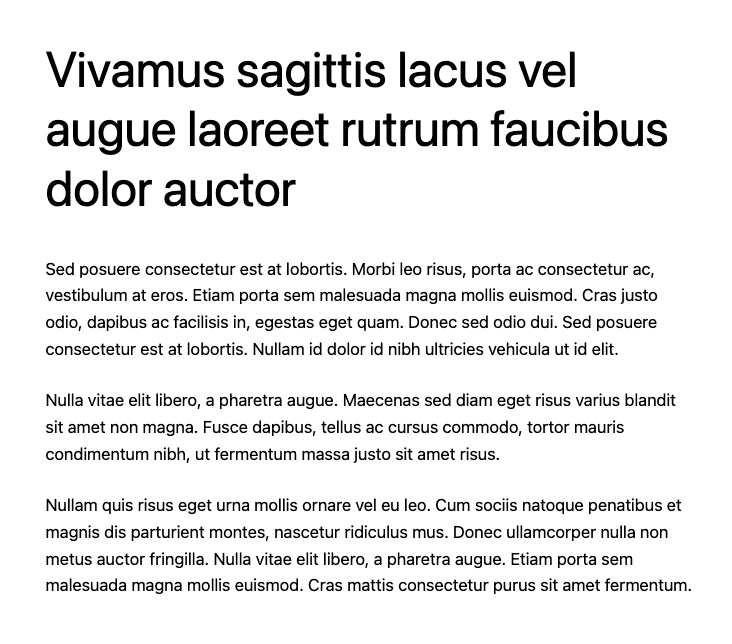
Each of those posts is clickable and will load the individual campaign for viewers to read:
Start Publishing Your Newsletters Online
That’s all there is to it. With just a few clicks you can create a WordPress newsletter archive on your website. ChimpBridge Pro will let you write once and publish twice: to your Mailchimp audience and to your website visitors. Look for more improvements to this feature as we continue to work on ChimpBridge Pro in the future.